15/01/2012

Allotted time!

Good Morning!

After sitting on a waiting list for three years, I have finally become the proud owner of an allotment.  It's a half size plot, and in pretty good shape, but there's still plenty of work to be done.  I'll keep you all updated as things grow, and will probably end up posting recipes for my produce too!


Watch this space!

08/01/2012

Pantone Colour of 2012: Tangerine Tango

Good Evening all,

It appears I have been snared by Pantone's colour of 2012 already.  Needing a new stovetop espresso maker I found myself in TK Maxx, and came across a tangerine coloured example.  This is what I'm talking about...
 I usually try to avoid anything this trendy, but as with all areas of my life I apply the simple principle of 'if I like it, I'll do/have/eat it'.  It's seemed to work so far.

27/12/2011

Cupboard Shame

Good Evening all,

I've finally been shamed into sorting out the cupboard which serves as a loft in my apartment.  Now, it's important that you know that I am married to a hoarder, and we pulled about 8 boxes of CABLES, myriad broken laptops, access points, projectors and whatnot out of the cupboard.  In all fairness, not a great deal of the 'stuff' in there was mine, but there is a pretty hefty pile heading to charity shops tomorrow.  We also shifted 4 binbags of junk and 3 of recycling.  Yep, there was a place in our house dedicated to storing out of date pizza menus...

Without further ado, I present some pretty shameful before pictures...
It was, as I believe the kids say, a hot mess.

So, after about 8 hours and a trip to the local Staples, it started to look a bit more like this...


Finally, once everything was out and I could hoover, we had the fun of fitting it all back in.  I'd been 'editing' as it all came out, so I was faced with a  MUCH reduced amount of stuff to cram back in.  There were a few 'Tetris' moments, but on the whole it is SO much better!


Hurrah!


23/12/2011

2011 Revisited

Good Afternoon everyone!


I apologise for the lack of posts lately, but y'know, life was happening.  Nothing exciting, just life.  So, I figured it was about time to take a look back at 2011, and especially my first post of the year-Things for 2011.
The first thing to note is that I made no 'New Years Resolutions' and I broke none. (It is also worth noting that I celebrate New Years properly on the 1st November, anyway).

There were quite a few changes around here last year.  we finished the Living Room, we painted the bedroom, we upholstered the bed (and I discovered Daniel over at Manhattan Nest...), I finished the bathroom, repainted the dining room aaaaaaand painted the hall, stairs and landing.  Actually, we painted EVERY SINGLE ROOM in our apartment this year.  I've finally started to be able to put together finishing touches without worrying that the actual paintwork wasn't finished...

I needed to get more organised.  I still need to get more organised.  
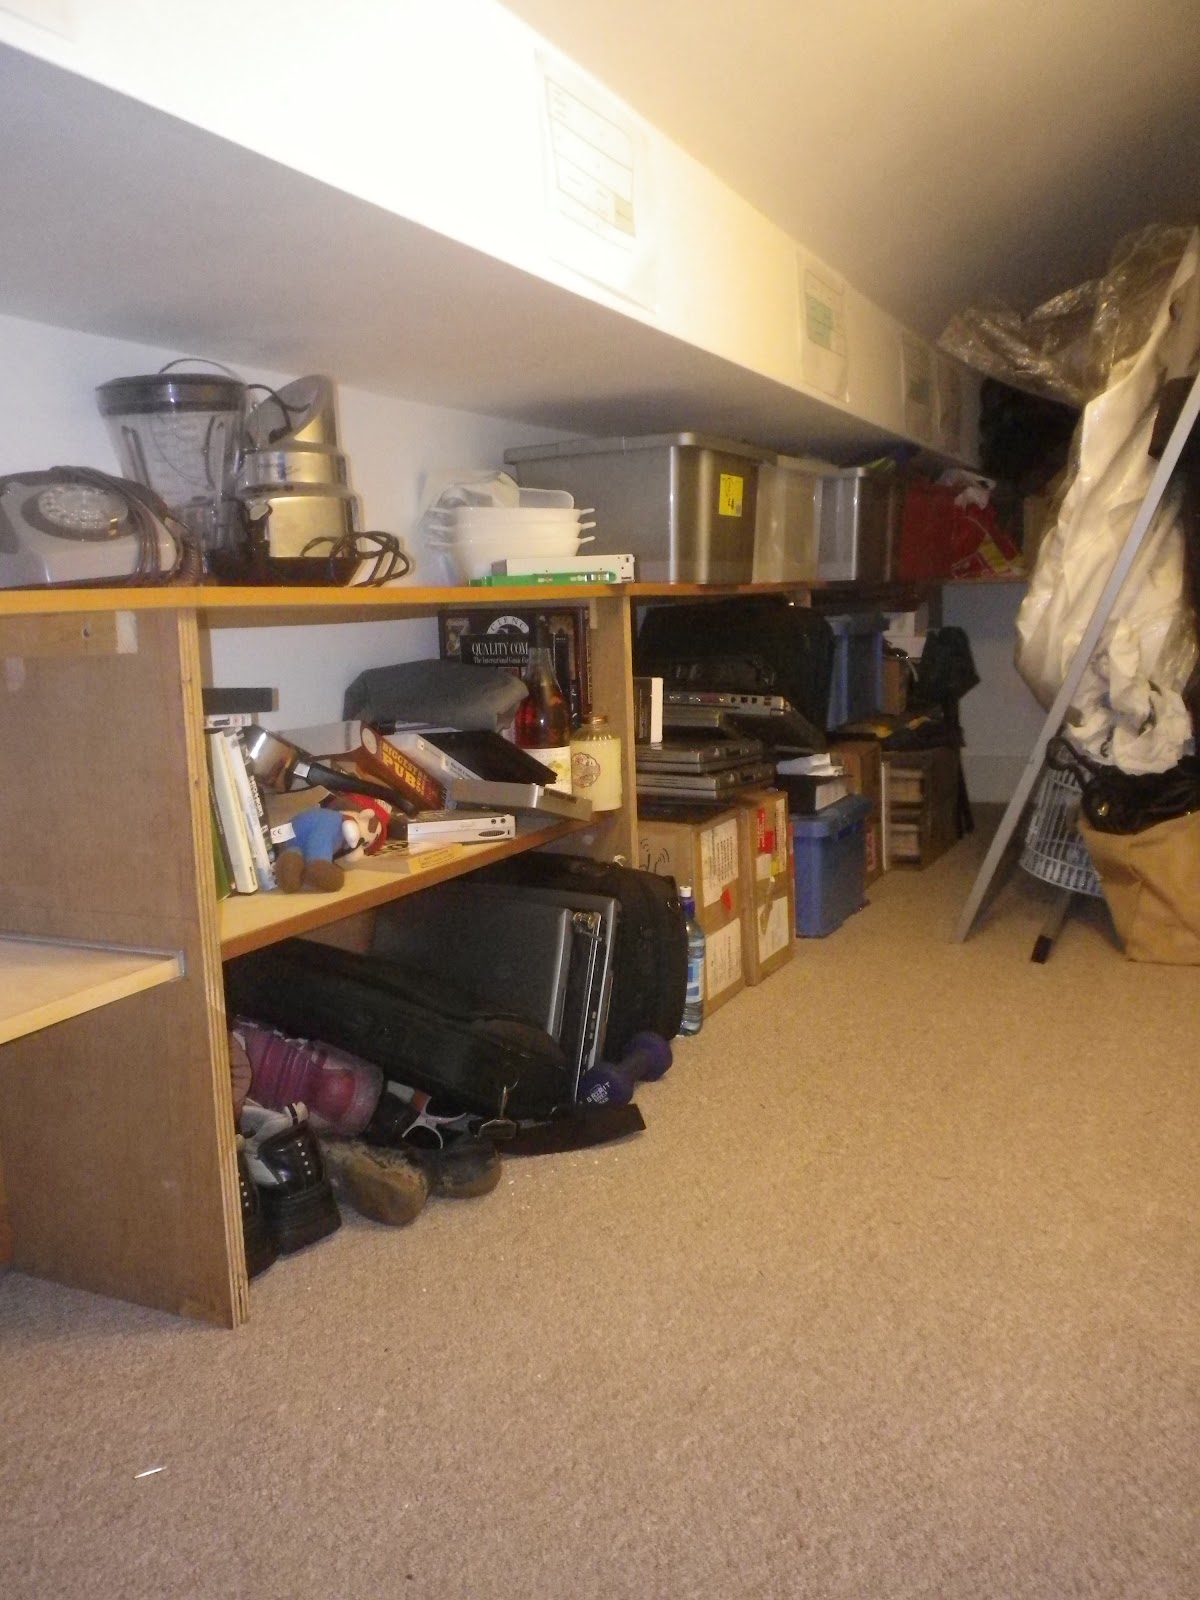
The Great Wardrobe Experiment was a great start, and to be fair, that wardrobe is still looking pristine, so it seems that the experiment worked.  The 'Junk Cupboard/Loft' is quite another story though.  In 2012 I think I'll kickstart the year with a picture of just how bad this baby is.  The Mr is a hoarder, and I'm a minimalist/hider-The ultimate combination.

The second part of 'Things' was the intention to be more mindful of the stuff that comes into the apartment in the first place.  I think we've done a pretty darn good job of this actually.  By we, I mean me.  I think I've done pretty well here.  I reckon that this is the first year of my adult life in which I haven't bought a cushion or a lamp or a duvet set or some inane kitchen item.  I have bought a few things though, like the 1960's Hi Fi turntable, a Typhoon storage jar, a cake stand or two...  Okay, so it may not have been perfect but there's been such a vast improvement.  Honestly.

After the festive season is over and things start to die down and settle back into routine, we'll attack that cupboard.  If there's something in there that I haven't laid hands on in the last year it's going.  I still have a spare wedding dress in there. (Yes, Spare.)

Anyway,  I hope that you've enjoyed this year's journey, and hopefully we'll have another rollercoaster ride next year too.  For now though,

Happy Whichever Holiday You Celebrate.


26/10/2011

Furoshiki!

Good Afternoon all,

I'd like to share with you my latest obsession:  The Japanese art of Furoshiki, or cloth folding.  This is usually used to wrap gifts or carry things such as books or even watermelons!

I've been using a (homemade) furoshiki wrap for my lunch this week, and I think it's super cute!  I made the furoshiki wrap by cutting up a square of fabric (that I made from the same fabric as my ironing board cover) and hemmed a simple edge onto it.  Then the fun started...


 Lay the cloth out in a diamond in front of you...
Pop your lunch in the centre of the cloth- I use a small clippy box for fruit and a medium clippy box for soup or leftovers or whatever.  There's usually a banana or a cereal bar balanced in there too...
 Take the left and right corners and bring them up over the lunch and tie in a double knot...
 Turn the whole thing round so the loose sides are on the left and right again and bring these up, a bit like wrapping a present.
 Both sides up...
 ...And tied in a double knot.  I tend to do this quite loosely, and not tie the knot too close to the lunch inside, so it acts like a carrying handle.


You can even slip your chopsticks through the 'under-knot'.  I really like the way this looks, and the way it holds your lunch together, especially if you're like me and end up with all sorts of random or loose items in your lunch!  The good thing about this is that it doesn't matter if your lunch is an awkward shape either, because you're not forcing your food into a square box! :)

23/10/2011

Sugar Skull Facepaint!

Good Morning,

We went to a Halloween themed birthday party last night with the instructions to 'maybe, sort of, dress upp, y'know, if you feel like it'.  We went down the plain-clothes-sugar-skull-face route, and I think it worked quite well!  Enjoy!


21/10/2011

Mini Apple and Blackberry Pie

Good Afternoon all,

As progress with the house has slowed a little, please indulge my frequent posts about baking. I've just bought two tiny, super cute pie dishes from Cargo Homestores, via Amazon. They arrived on Wednesday and I was amazingly keen to make a cute dessert for the Mr. Cue rummaging through the fruit bowl and freezer...In the end I used an apple and some blackberries that I picked and froze from our trip to Manor Farm Country Park. I also decided to try a lattice crust, which I've never really done before, and I think it worked rather well.


And here is a pic of the pie once baked and crispy...
To give some idea of size and scale of the cute mini pie dishes, here is how big they really are!

The pastry was ready roll shortcrust pastry (I know, I'm lazy) and the filling was made using one apple (I think it was a golden delicious or something, just what I had in the fruit bowl) peeled and cut into chunks. I popped this in a bowl with about a tablespoon of caster sugar and a teaspoon of cinnamon and microwaved on high for 2 and a half minutes. Then I added in a handful of frozen rasberries and drained off the syrupy liquid. I lined the dish with pastry and filled it with the fruit. I cut the rest of the pastry into strips and put a lattice on top, brushing the edge with milk to make sure it stuck. Then I trimmed the edges, brushed the top with more milk and sprinkled a little lot more sugar and cinnamon on top.

Bake at about 180C for 15 to 20 minutes (perhaps longer if you're making more than one) then EAT!

08/10/2011

Baby Shower!

Good Evening All!

I've just finish clearing away after a very successful baby shower.  Unfortunately this is going to be another cake-related post.  I will get back to the house at some point, I promise...

So,  Remember the chocolate ombre cake I made a few weeks back?  Well that was a practice cake for the baby shower.  I made a pink one this time and made the 'roses' a little smaller, and I'm pretty proud of how it turned out.  (I also made cake pops, sausage rolls, quiche and biscuits...)


Sorry the pictures aren't that great but the lighting kinda sucked and people were arriving whilst I was trying to put it together!  It was great fun though, and I think my Sis had a really ace time!

26/09/2011

Dining Room!

Good Afternoon!

After another weekend with the paintbrushes it seems that the dining room is finally in a sharable state.  I'm still not sure about the yellow, but the Mr loves it.  The grey does soften it a bit (yes, it's the same grey as the lounge and the bedroom).  Anyway, enough of the talking, let's get on to the pictures...


We have the light fixture hanging over the dining room table.  As we live in a rental place, we couldn't be moving the light fixtures, so we rewired the ceiling rose with a nice long bit of flex, and added a hook to the ceiling above the table.  Voila!


All in all, the room feels a little more livable now, but ut's an awkward shape and still doesn't feel quite 'right'.  Watch this space, I suppose!

24/09/2011

Ginger cake with Fudge Frosting...

Good Afternoon...
Still no progress with the house!  We hope to things a bit more up together by Christmas though, by that I mean we should having a dining room we're happy with...
So.  This weekend was the Mr's birthday, so I baked a ginger cake with fudge icing.  I struggled to find a recipe so I tweaked one from the various recipes that I found.  I present it here (mostly for my own future recipe searchings...)


Simple Ginger Cake
Ingredients:
285 g self-raising flour
3 tsp ground Ginger
1/2 tsp ground cinnamon
1 tsp Bicarbonate of Soda
A pinch of Salt
200 ml golden syrup
125 g butter
125 g soft light brown sugar
2 large eggs
240 ml Semi Skimmed Milk

1. Grease a 20cm tin, and line the bottom with greaseproof paper if you need to.
2. Preheat the oven to 180C/gas 4. Sift the flour with the ground ginger, cinnamon, bicarbonate of soda and salt. 
3. Put the golden syrup, butter and sugar in a small pan and gently heat until all melted together.,
4. Break the eggs into a bowl, pour in the milk and beat gently to break up the egg and mix it into the milk. 
5. Remove the butter and sugar mixture from the heat and pour into the flour, stirring smoothly and firmly with a large metal spoon. Mix in the milk and eggs. The mixture should be VERY sloppy almost like a batter, with no trace of flour. 
6. Pour the mixture into the lined cake tin and bake for an hour, covering with tin foil half way through, until a skewer inserted in the centre of the cake comes out clean. Unless you are serving it warm, leave the cake in its tin to cool, then tip it out on to a sheet of greaseproof paper. Wrap it up in foil and, if you can, leave it to mature for a day or two before eating.